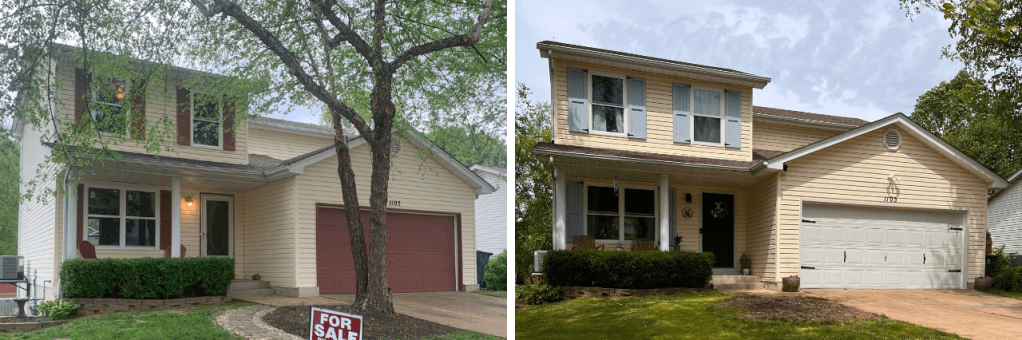
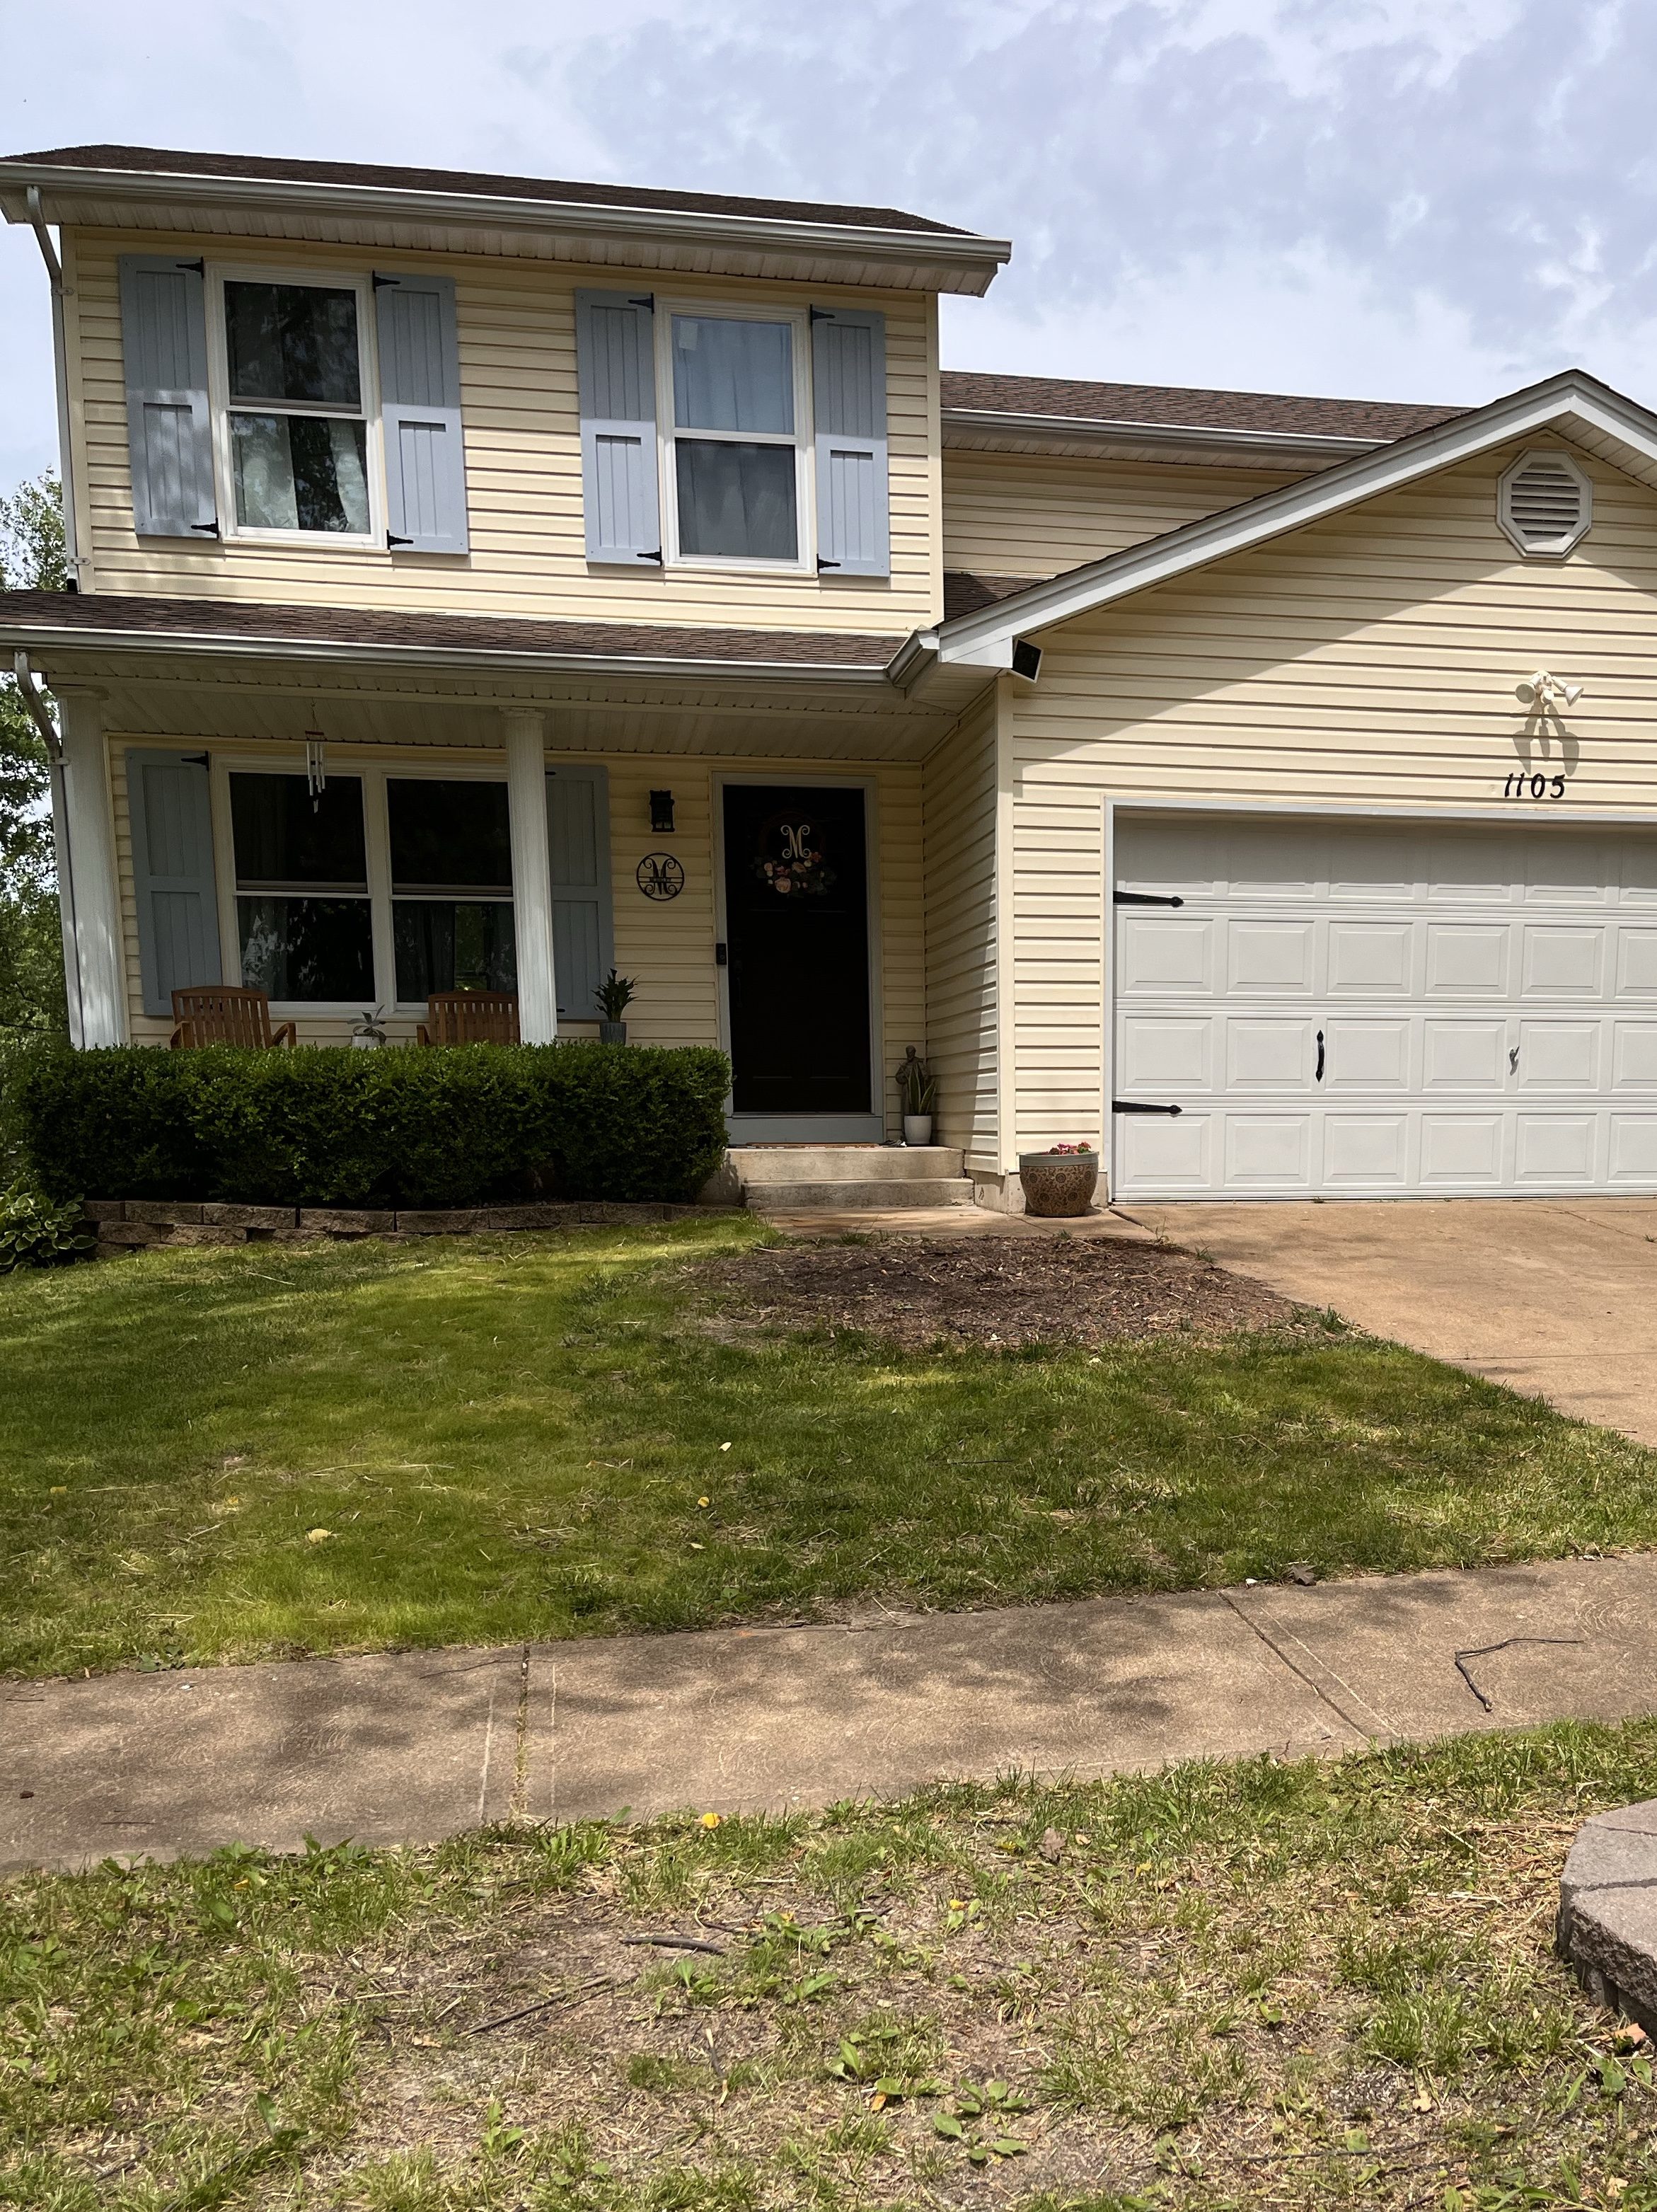
The Exterior is definitely something we wanted to update when we first bought this house and the updates were actually quite inexpensive. In an ideal world we would change out the yellow siding, but that wasn’t in the budget so we worked from the thought of “how do we make the house look good with yellow siding.”
We updated the shutters, the front door, the porch light, the yard, the garage and the mailbox.
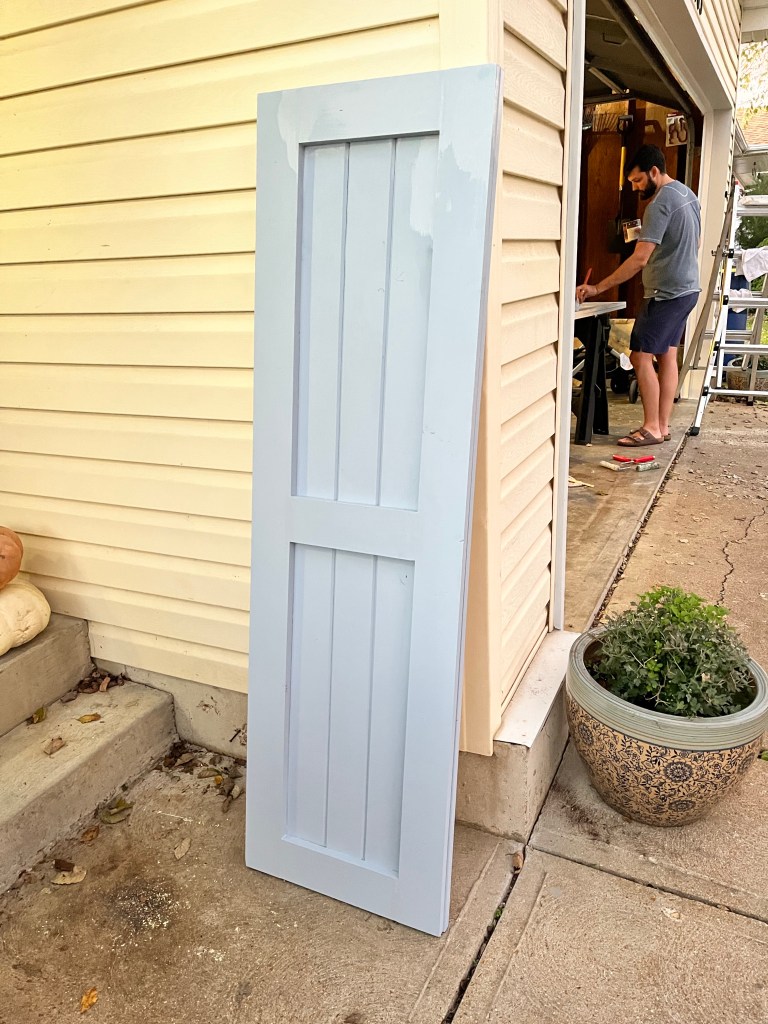
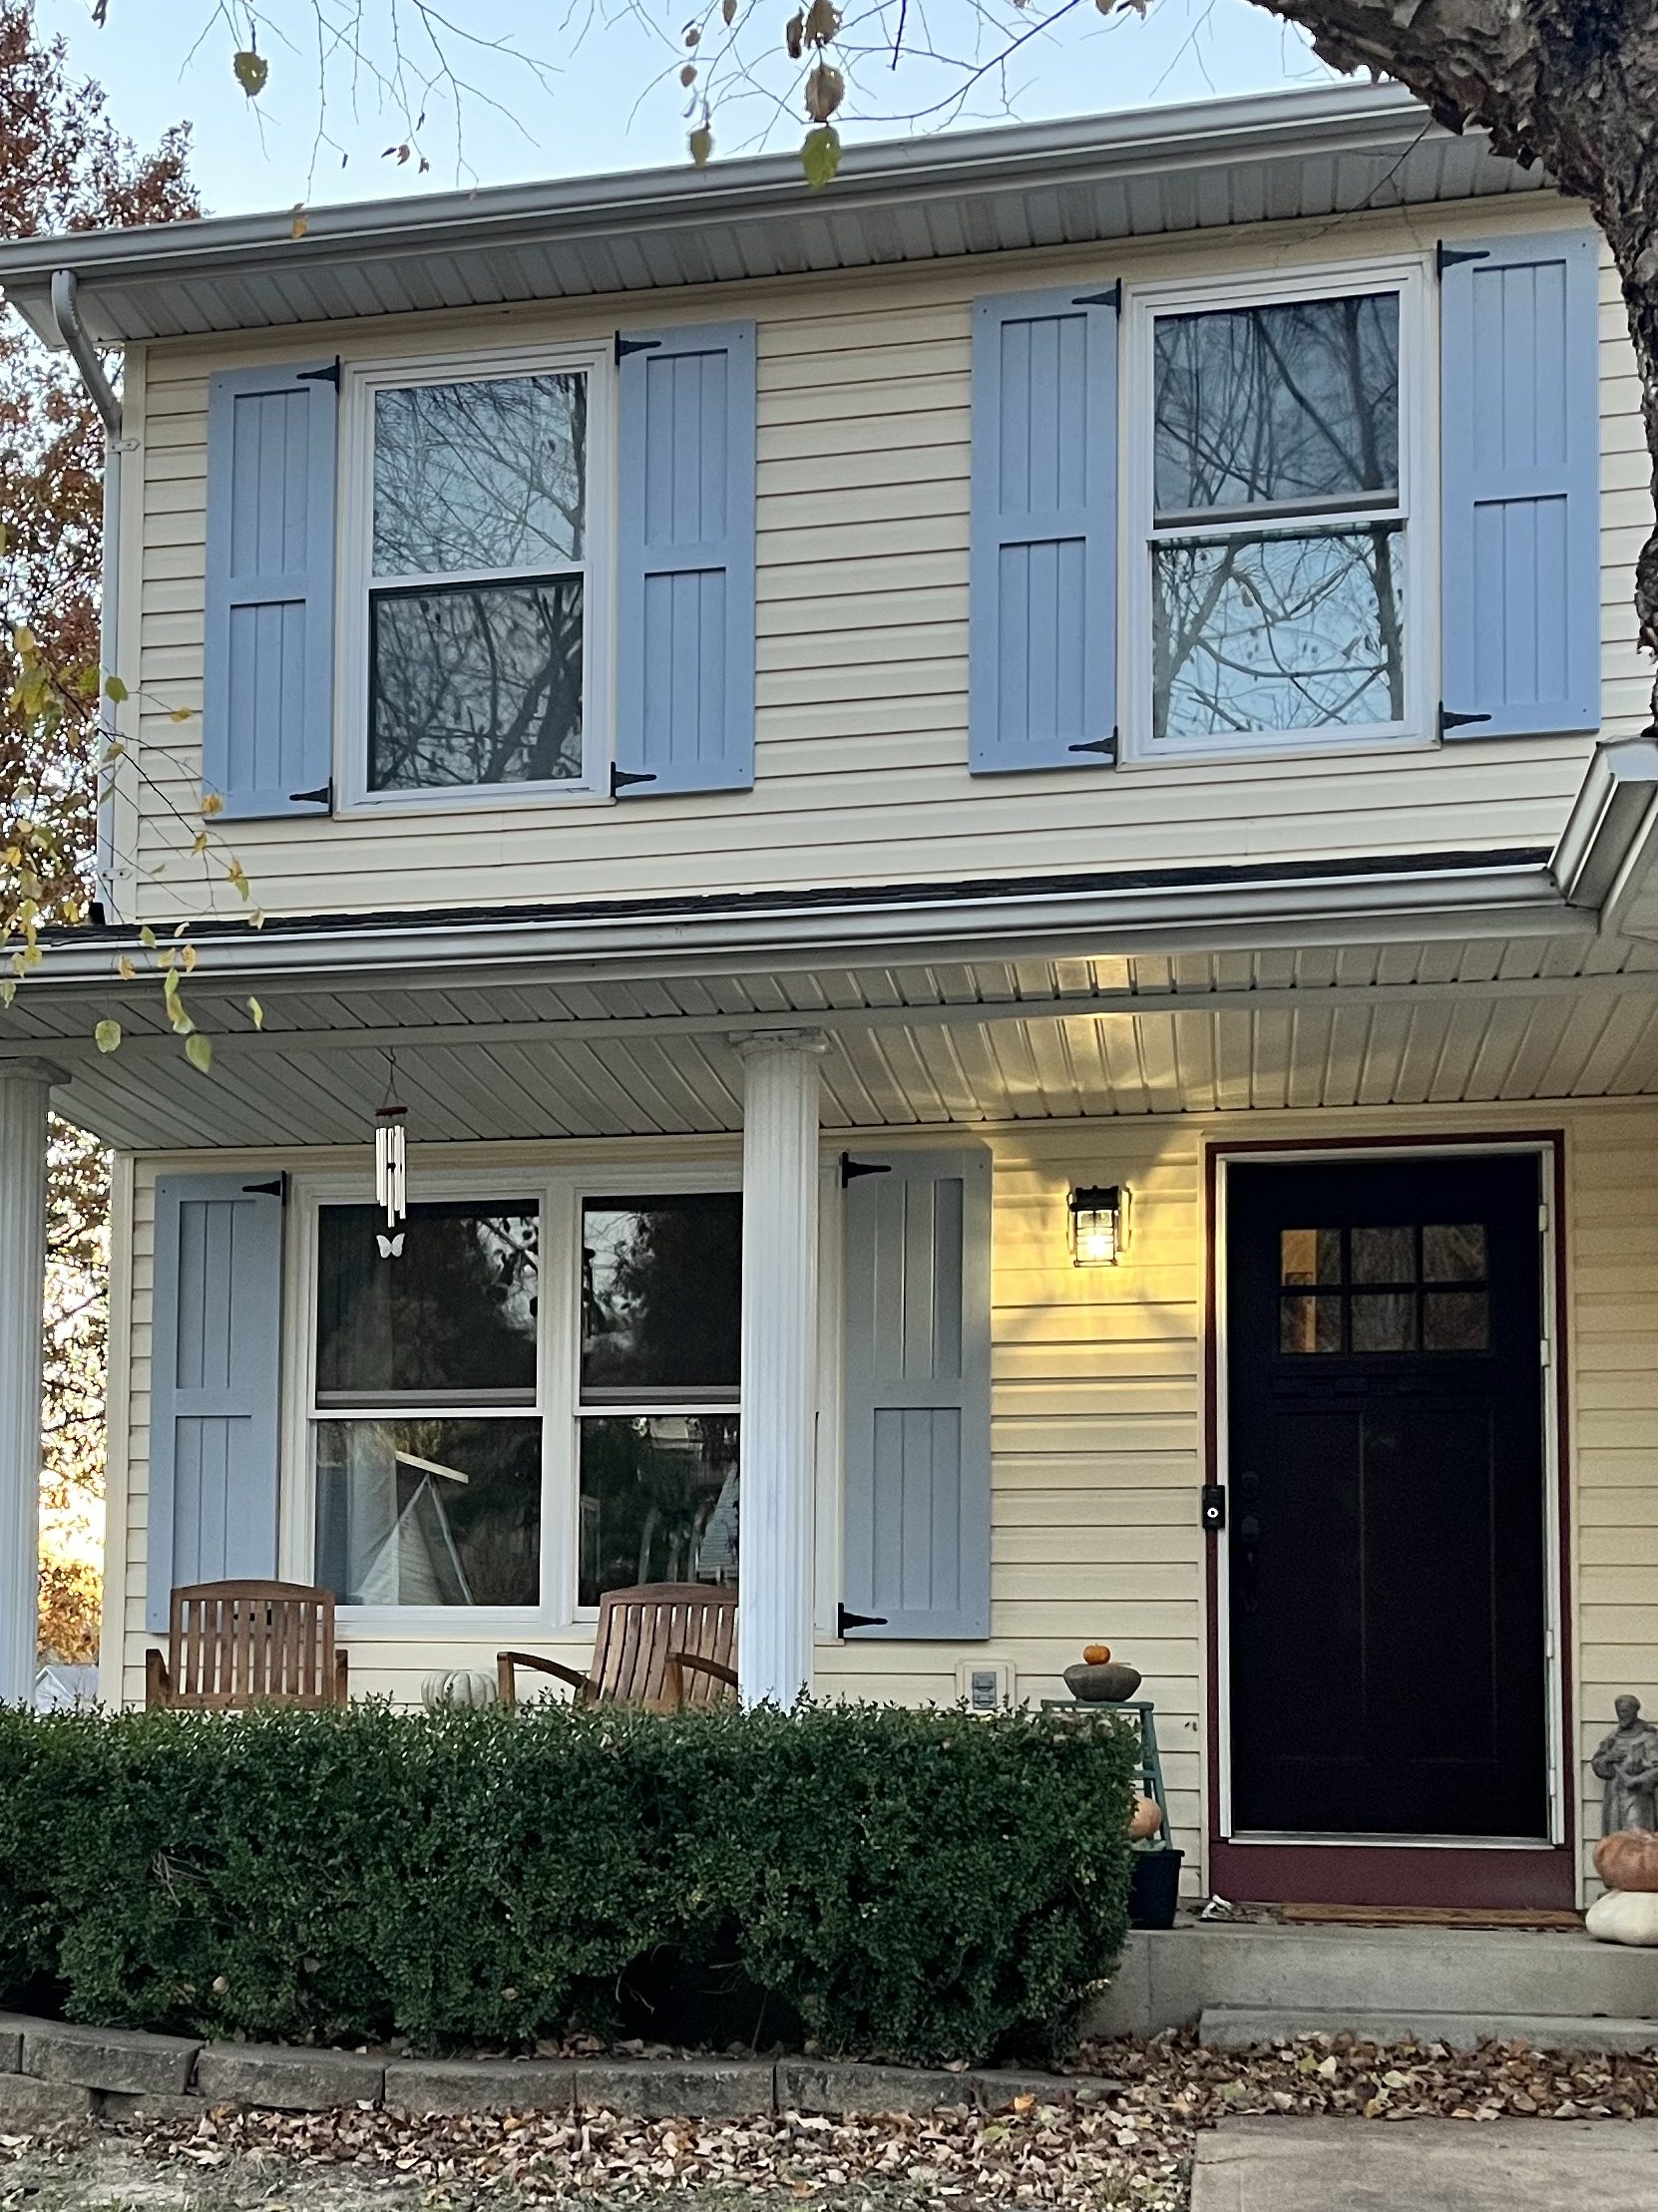
Shutters
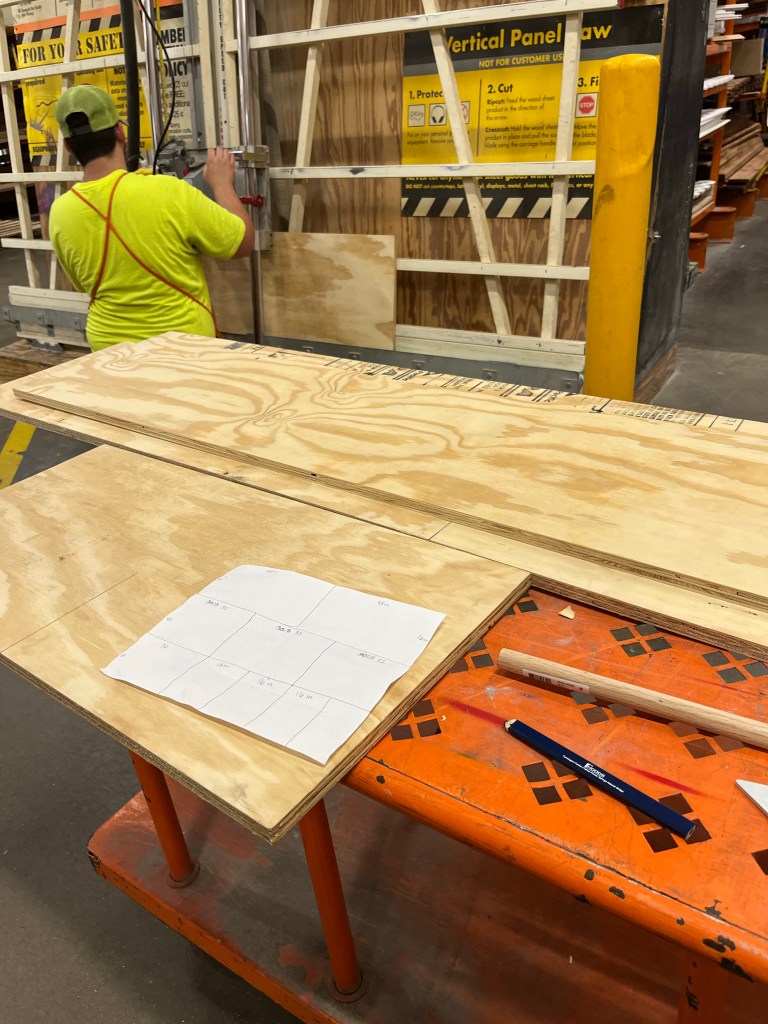
We are not a big fan of plastic shutters, so we made our own. For details of how we made them, go here. One thing to keep in mind from the instructions, some 1×4 boards aren’t true 1×4’s so be sure to line the 5 back boards up before measuring the rails.

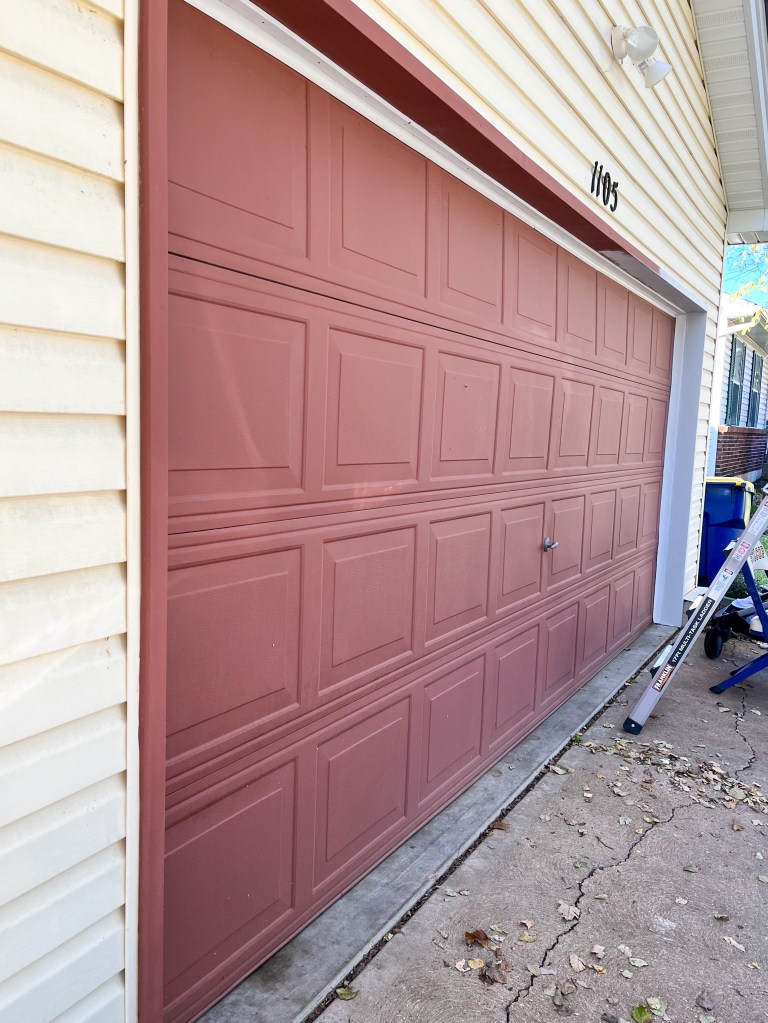
Garage
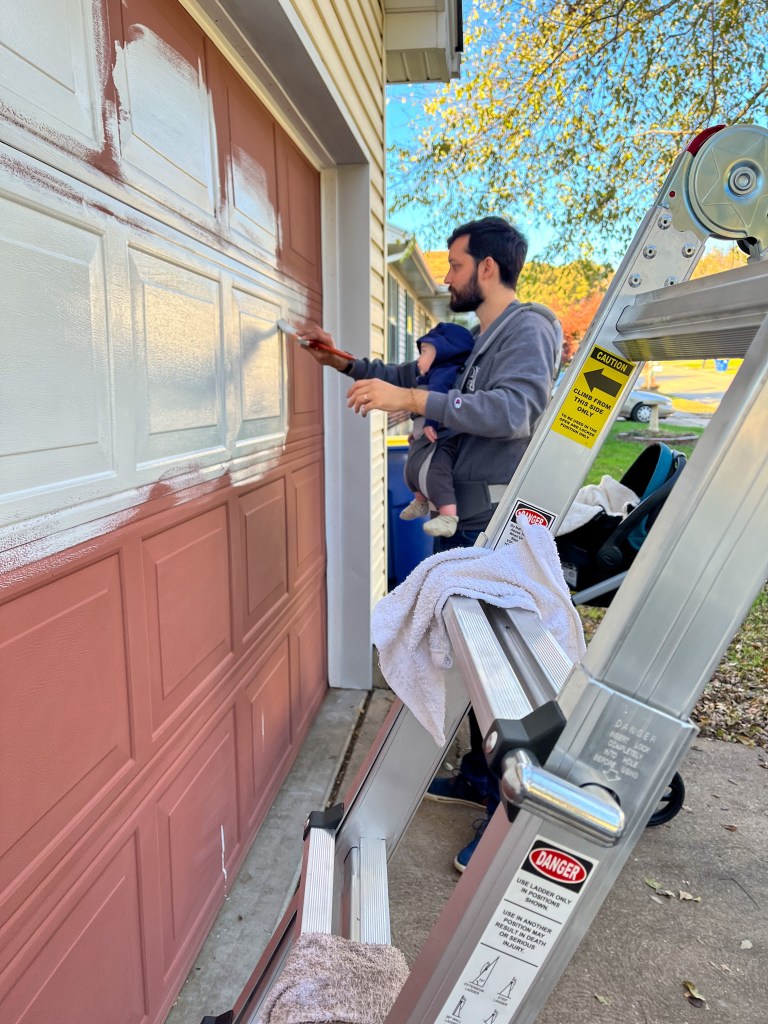
We then painted the garage and front door frame to an off white, using Glidden Exterior paint, Color: Fog, and added these magnetic garage hinge and handles for that added finish. Be sure to clean the surface well before painting.

Mailbox
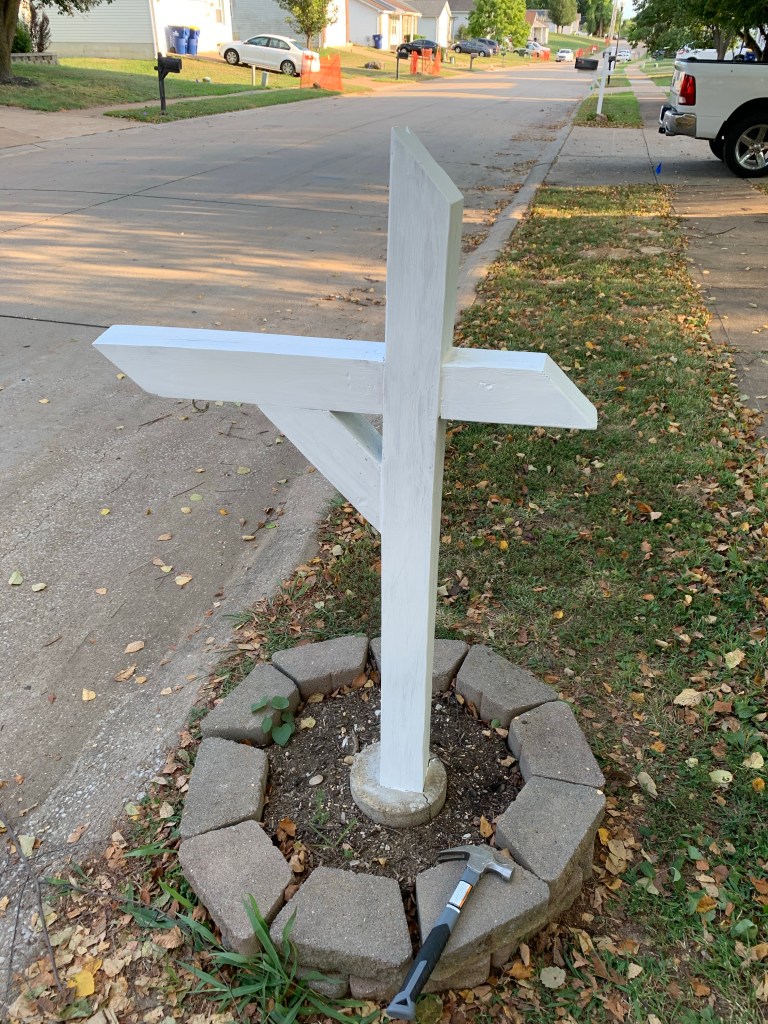
We changed out the mailbox, painted the post with leftover exterior white paint we found in the garage from the previous owners, and updated the numbers.


Front Door
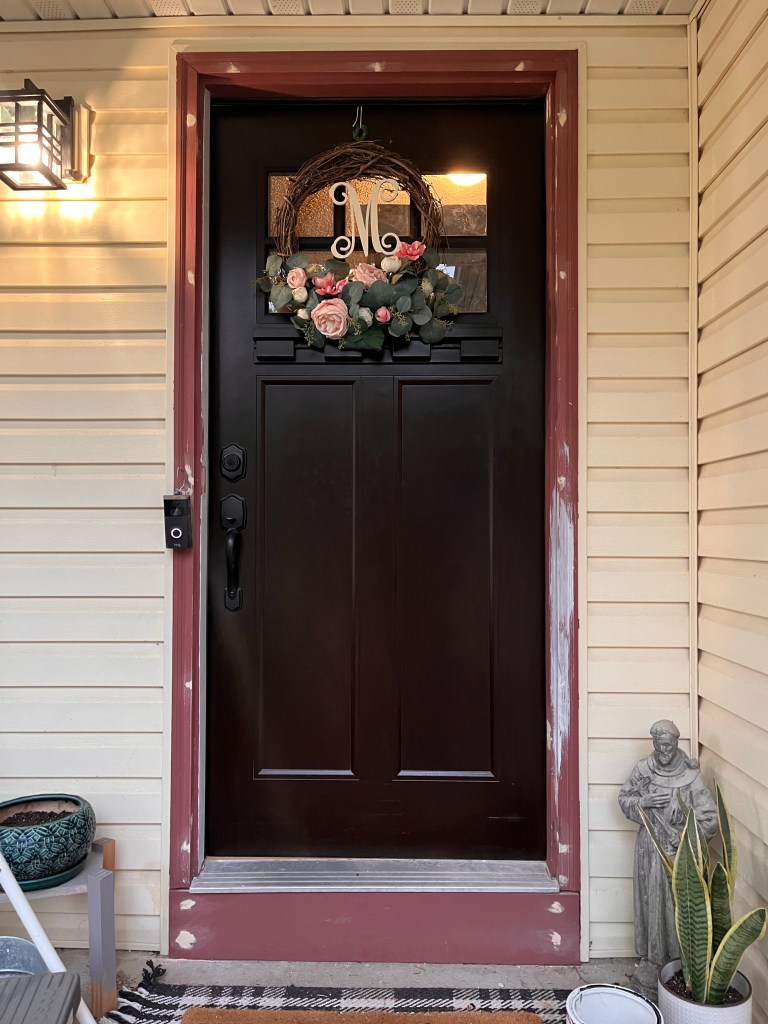
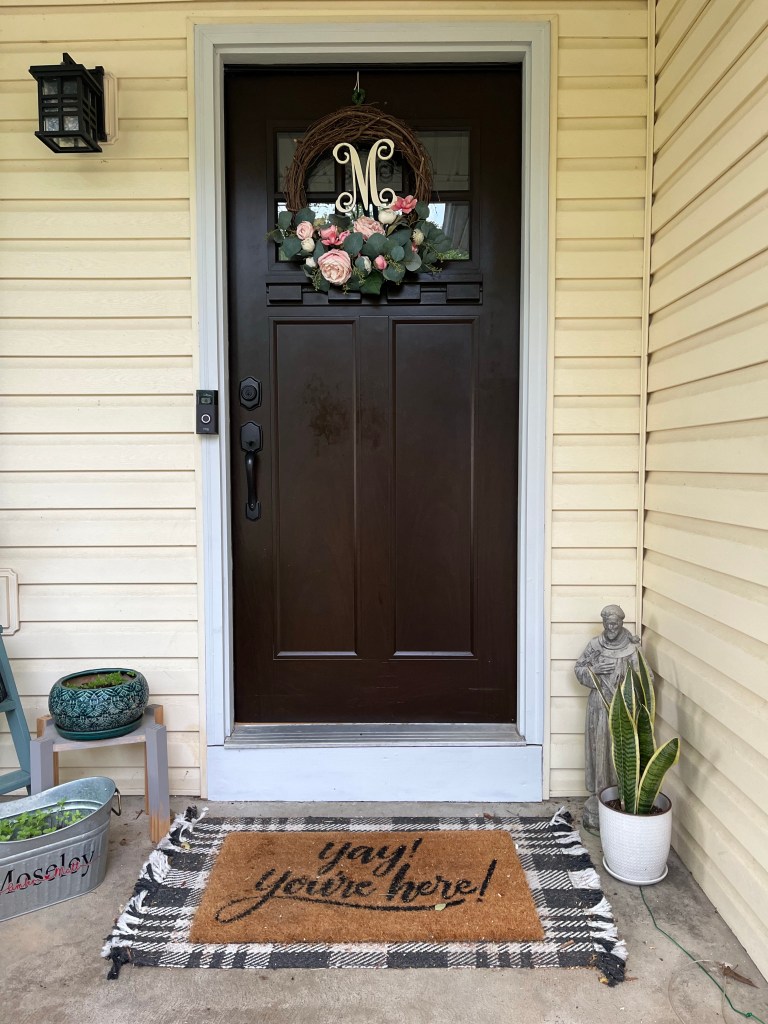
For the front door, we removed the storm door, replaced the door with a craftmans door and painted the door frame to match the garage. We found the front door on marketplace for a fraction of the cost. We did have to drill the hole for the door handle, which turned out to not be too difficult when you bought door lock installation kit.
Removing the storm door frame was comical, I tried for months to pry it off after removing the external screws and no hope. Turns out storm door frames have hidden screws behind the removable covering.
The biggest thing I learned is when in doubt, look it up on youtube. After asking youtube how to remove a storm door frame, it took me around 15-20 minutes to remove!
After removing the storm door frame, I filled in the screw holes with wood fill and sanded to make it flush with the door frame. Again, don’t forget to clean the area well before painting. It took 2-3 coats of paint to cover the red well.
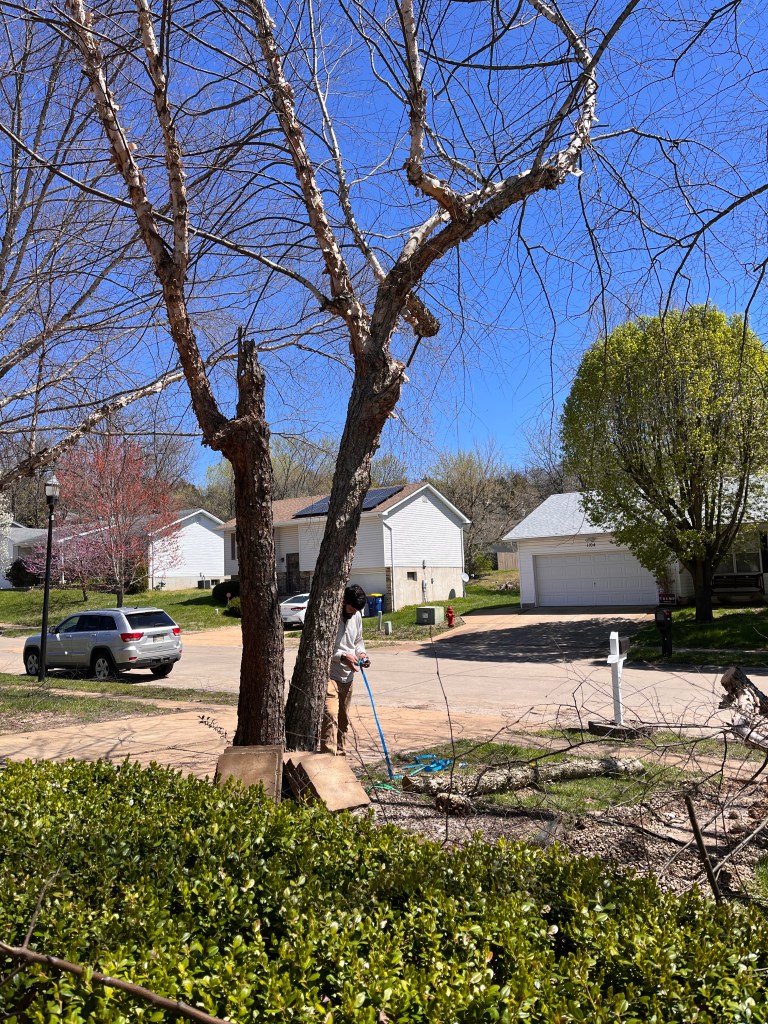
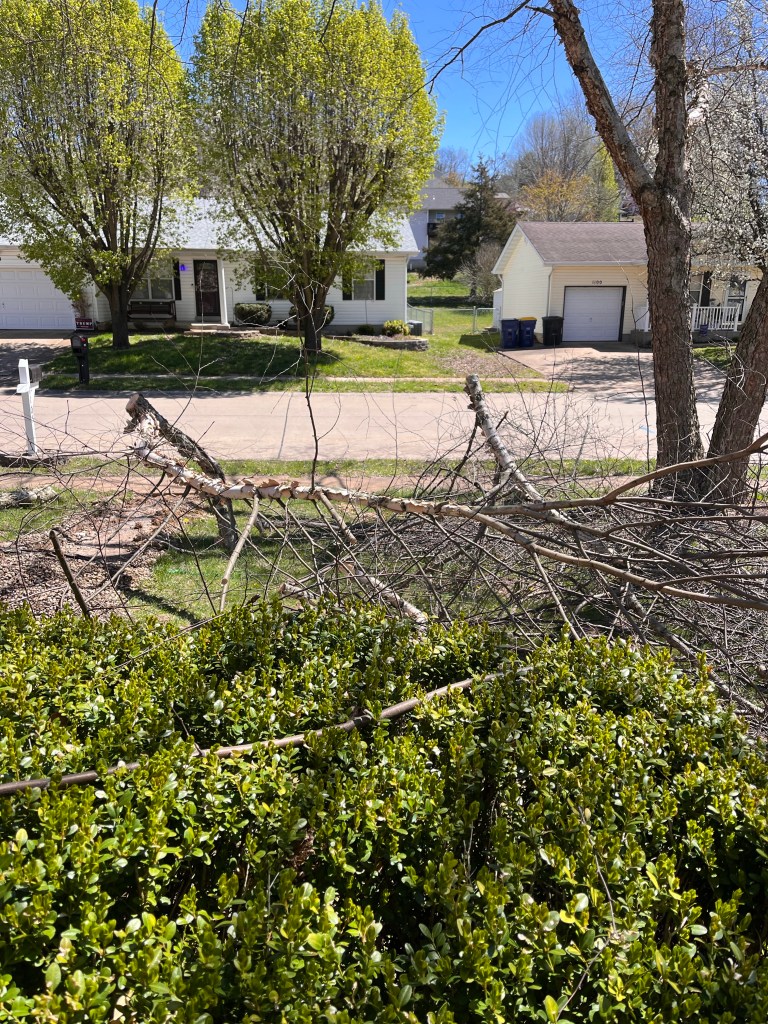
The Yard
We had a massive tree blocking our house and causing a lot more hassle than necessary, so we chopped it down ourselves. We did pay someone to grind the stomp though, which was definitely worth it and we had enough mulch out of it to cover our landscaping we did in the back of the house and to recover all of our river birch trees.
We had a walking path as well that we decided to tear out due to the hassel of upkeep and the frustration of trying to mow around the rock path.

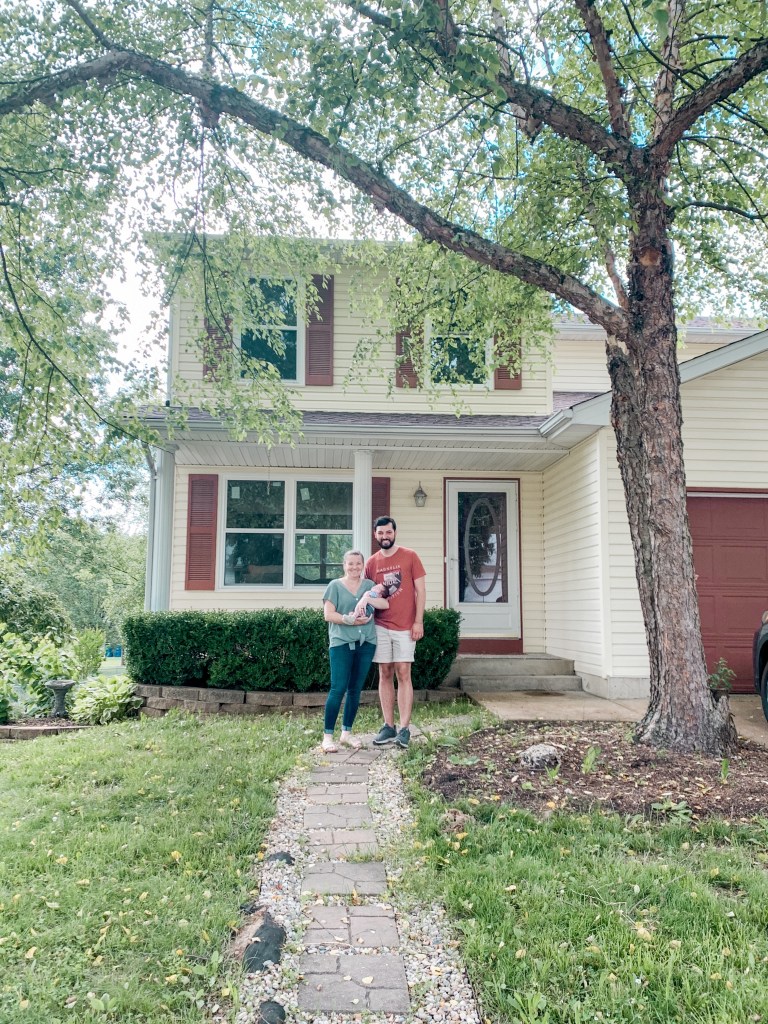
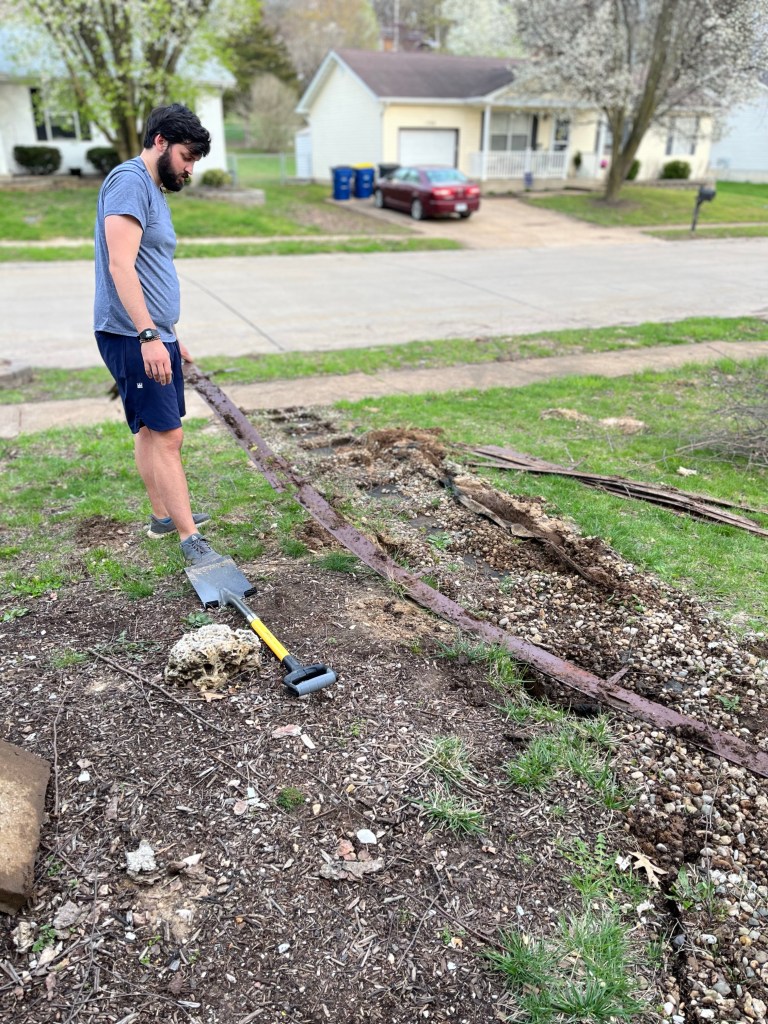
We planted grass and you can’t even tell a walking path was there before. Next spring, we will plant more grass over where the mulch was for the river birch before and our next project for the exterior is replacing the white columns with cedar posts, so stay tuned for that DIY!
Comment with your favorite update and/or questions!